
We are going to walk you through how to properly stain your wood, as well as what to do afterward with your wooden piece so it stays durable and looks great for a very long time. While most people are familiar with the basics steps to staining wood, it is actually the subtleties of application that can make or break the appearance. What is important is using the correct products for the job, preparing your wood in advance, and applying your stain and sealer properly. Applying the correct wood stain for your home projects will be a big deal in your next home improvement project, and we want to ensure that you are 100% confident in the products that you are getting out of your hard work.
Now that you have chosen the right stain for the wood of your project, the next step is cleaning up your wood surfaces. Next, you will probably want to put on wood sealant to help your stain sink in more evenly. There is no science behind scrubbing; it is simply about making sure that your surface has an even coat of whatever finish you are using. Pre-staining is a step many may skip, but it is essential, as it smooths the wood out, so that stain is more uniformly absorbed, and honestly, beautiful.
Follow the directions on the can, but essentially, you are applying a wood conditioner prior to staining onto a clean surface of the wood, allowing it to sit for 5-10 minutes, then applying your stain. Once the tests are done, continue to the application of your pre-staining conditioner, and then finally, use your brush, roller, wetted cloth, or just spray your stain onto the wood. Apply stain to the wood using your chosen stain, brush off any excess stain, let the stain cure for 24 hours, and then continue applying finishes on the surfaces of the wood.
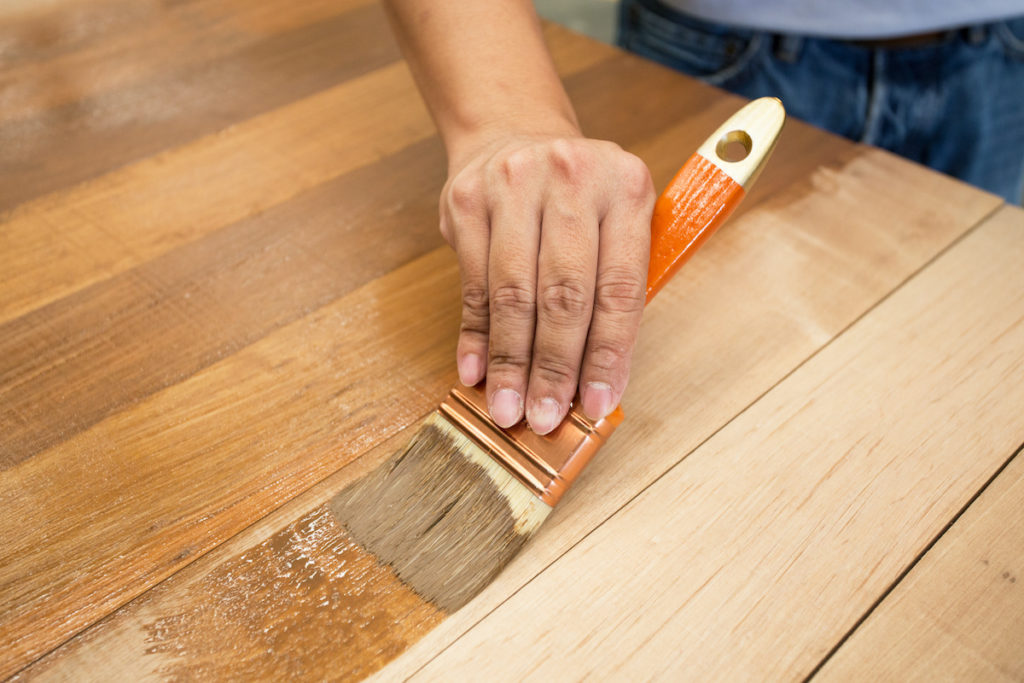
Your final scrubbing should go in the direction of the wood grain, this will increase the even appearance of your stain. Then, starting from one side of your piece, start painting your stain on the opposite side of the grain.
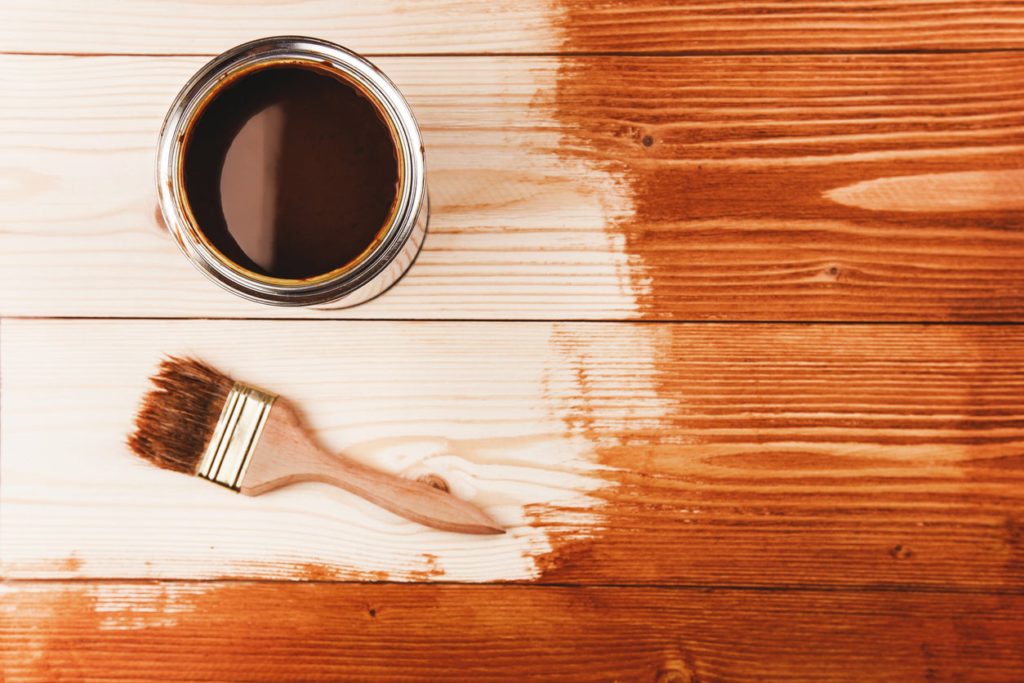
Once you have finished up inconspicuous areas and achieved the desired look, you are ready to stain the wood part. Once you pre-stain your piece, you have got a little window of time to get a nice finish – in fact, 2 hours. If, for whatever reason, you decide hours later you would like the piece of wood a little darker, then continue with the second layer of stain, following the same procedures outlined above. With either a brush or roller, soak the coffee stain, and then spread it over the wood.
Remember, you are applying stain on unfinished wood, so you will want to seal in the stain to protect it. Think about interior furniture stain, this also need to be done through the same process. Unlike paint, which is put on top, the stain is absorbed by soaking in wood fibers, and it is embedded in the surface of the wood. Lacquer stain may be used as a finish over a already stained piece of wood.
Oil stain is used for varnishing wood using brushes made from natural hairs, while water-based stains may be synthetic too. Staining is a process that paints naturally occurring wood, with no prior hands, using special staining compounds designed for that kind of material. All wood will absorb a different stain, so try to play around with pieces of wood coming straight from the project you are planning on staining. Adding stains to raw, natural wood, which contains dyes and pigments, will alter the colour, but it also will improve the naturalness and grain of the wood.
You can use coarse-grit sandpaper to get rid of any old stains, paints, or stains on the woods surface. If you would like to keep a more rustic or worn-looking wood, the finer grain sandpaper should let you keep it. Do not sand too far, or you might leave the wood sealed too badly, and not be able to get the finish. Now that you have stained a piece of wood, you definitely want to protect it from everyday wear.
Pre-Staining Wood Conditioners You may need to use a pre-staining conditioner to make sure the wood is easily accepting of the stain, as some types of exposed wood soak in the finish and you end up using more than necessary. After you have removed all of the sawdust, the next key step is using a pre-stain wood conditioner (when you are going to be using an oil-based stain, you may use this kind for water-based stains). You will need to follow the instructions for the particular brand you have chosen, but the basic idea is to use the wood conditioner using a foam brush and allow it to soak in the wood for around 10-15 minutes. To help lessen blotchy appearance during the staining process, apply a generous coat of wood pre-staining primer before starting. Ash & Chestnut These Hardwoods These hardwoods share a lot of characteristics with Oak and should be stained in the same manner described above for Oak.
For those who want to learn more, we are going to walk you through the process of staining wood, including how the wood is prepped, selecting the finish, and applying traditional or decorative finishes. If you get any additional questions, please share them below and we will provide you with easy answers that you can use to achieve that perfect staining (or varnishing) project.